Apple Friday Quick Tip

iPad Issues

No Wi-Fi

Have you experienced a frozen screen?  Or maybe your iPad wouldn’t turn on, charge or find Wi-Fi.  Perhaps you have a minor issue with iTunes on your iPad.  There are some easy quick fixes that may help you be issue-free with your iPad.

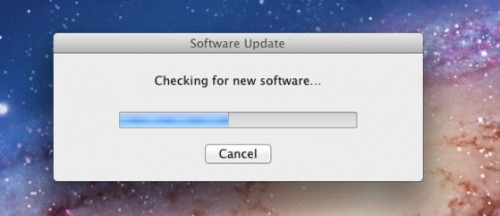
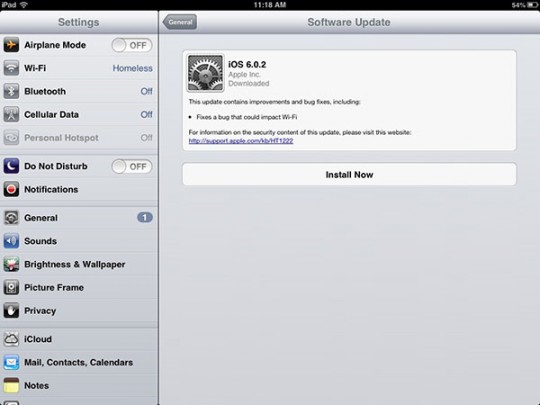
First, allow me to be annoying and reiterate the fact that you need to update the software.  Whenever you get those little reminders to update, which for me, always arrive while I am in the middle of a project with time restraints, but update then so you don’t forget to.  If you really cannot take a moment right then, make the time to update later, but sooner rather than later! 

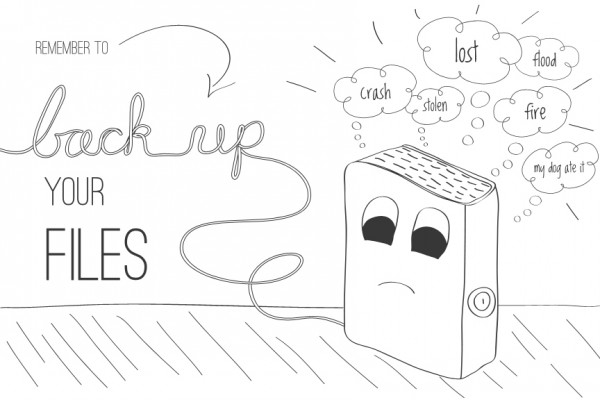
Before you experience any issues at all make sure you sync your iPad and create a Back-up.  I am including a Link (below) to Apple Support to refer to for syncing and other issues with syncing. If you keep iTunes up-to-date you can uninstall and reinstall iTunes (if absolutely necessary in link at bottom) if you experience problems.  Use the Apple Support link below to find other instructions for iTunes and iOS Support.

Apple Support for Syncing

 One of the first things you should do when a problem arises with your iPad is to try powering down the iPad by holding the Sleep/Wake button and following the slide-to-power-off instructions.  This can help a frozen screen, Wi-Fi connection problems, when iTunes doesn’t recognize your iPad and even when your iPad won’t charge.  Remember to plug your power adapter into iPad and wall before turning it back on.  If it still isn’t charging, try another power adapter and cable if possible. 

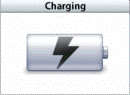
 If your iPad won’t turn on, try holding both the Sleep/Wake button and the Home Button simultaneously until you see it power up with the Apple logo.  If this did not power your iPad on, then perhaps the battery is drained in which case you should plug it into the wall charger adapter.  Do not try to power the iPad on again for 15 minutes to half an hour; then try turning it on.  Make sure you can see the lightning or charger symbol (shown below) that indicates iPad is charging. 

lightning chargecharger symbol

 If you have a frozen screen and powering down the iPad did not work, try resetting your iPad by holding both the Home Button and Sleep/Wake Button together (resetting the iPad) which should bring it back.

Wi-FiWhen you are having trouble connecting to Wi-Fi and powering down did not help, try going to System Preference to toggle Wi-Fi off then back on.  Make sure the Wi-Fi symbol at top left of screen shows Wi-Fi is on and accessible.  Look for which Network your iPad is connected to; Midd-standard is the best selection if you are here on campus and a Middlebury College community member. Try resetting the iPad if all else fails. 

When experiencing trouble syncing with Wi-Fi, try toggling Wi-Fi off in System System PreferencePreferences, then toggle it back on.   If you lost connection to internet, reboot the iPad by powering down, then back on again.

When iTunes is not recognizing your iPad and powering down did not help, try plugging your iPad into your computer.  If problem is still is not resolved, you may have to restore your software.  Click the Apple support link below and follow those instructions. Also, check out the related articles in the link below.

Apple Restoring iOS Software Support

 Sometimes these simple measures help fix a minor problem.  We hope these tips help make a big problem seem more like a small ripple! Enjoy your Apple.

Friday Apple Quick Tips – Early!

Software Updates! apple sotware update


Some might think of this as 2 bad words strung together or a scary proposition but, they actually can resolve minor issues with using your Mac, iPad, iPod and even your iPhone.  There are often upgrades such as security upgrades, enhancements of features or even new feature & improvements. Apple sometimes creates an update to resolve a problem they know of.   Software updates are a good thing.

FYI  So this procedure does not seem frustrating or long and tedious, be sure to allow yourself enough time for your computer to check for software updates as well as to download and install them, then to shut down and restart, which may or may not be necessary.  It will not seem so “scary” then.

Apple icon

When you are ready for the procedure of completing the Software Updates, click the Apple icon (shown at left) in the upper left corner of your screen.  Software update… will be second choice down.  By clicking this, your computer will search for any software updates your computer has missed.  This may take a few minutes.  If there is a software update needed, it may show up in the App Store window (pictured below) that appears after you click software update.Software Update  You can simply click update and then you will be asked to choose either restart or not now.  Restart since you are already prepared!  Then your Mac may shut down, sometimes you will be asked if you want to close/force quit a program.   If you need to update Safari, iTunes, iPhoto, or iMovie, a window will appear asking you to enter you Apple ID and password.  Follow the steps for these updates as well which will be similar to the previous steps. 

To give your iPad the Software Updates simply go to your preferences (the Silver Gear Box) and tap on General and then Software Updates and then you tap Install Now (as seen in photo below). This is a very simple procedure.

Software-Update-on-iPad

This Software Update may help your Mac or iDevice to run more smoothly for you now.  Hopefully this helps you simply enjoy your Mac and iPad!

Good luck!


Friday Quick Tips-Seriously

Computer Fires!

computer_fireWe recently received scary news that there has been an outbreak of Laptop fires across campus.  There was a warning included which stated that leaving a laptop on a bed or a couch restricts the airflow in the computer which can cause the computer to overheat. Do not leave your laptop on unattended; please work with it on a hard surface like a table.
This is a very important warning to pay attention to.

I would like to offer another warning regarding laptop fires.  When purchasing a charger adapter for your computer, make sure you are not saving some money and getting a cheap one from the internet.  A few students have approached me in the past making sure I warn other students that these cheap imitations have “burned up” their Mac.  Your Mac is worth upwards of $1000, take good care of it.  Insurance does not cover your computer if, by saving yourself some money, you burn the Mac up with a cheap power adapter.  I have seen many students walk away after I tell them the cost of a replacement power adapter from Apple is $79, they tell me they can purchase it cheaper online.   If you see one for less, be warned, it is probably an imitation!  I did some research on power adapters for other brands of computers and they are all relatively that much money.  Do your research and make sure you are getting the correct adapter that will not cause your battery and/or computer to overheat.  Don’t buy cheap!

We value your lives that is why we are warning you with emphasis!

Friday Mac Quick Tips

BACKUP-YOUR-DRIVE

The first thing I want to remind everyone about is how important it is to Back Up your computer.  I have seen so many people leaving with tears in their eyes when the Tech explains to them that all those long hours of research and writing pages for a thesis, mid-terms or finals is gone because the hard drive failed.  BACK UP your computer or just back up the work you do not want lost if the hard drive fails.

Here at the Apple Campus Store, we have noticed an increase lately in the complaints from Students, Faculty and Staff about how slow their Mac is running.  More often than not, it is an easy fix and not necessarily your hard drive failing.  Thank goodness! There are some things you can do to prevent the “Spinning Wheel of Death” that rainbow spinning circle that appears in the middle of a download or while opening an application.  This freeze stops all work you can do on your computer.  Some people restart their Mac after it crashes only to find their Mac won’t turn on past a gray screen.

One of those things you can do to prevent this from happening is free up some of your hard drive space.  After you have backed up your computer, delete some old unwanted documents, movies that you save elsewhere, or even applications you never use.  Some people even have multiple copies of photos.  Get rid of all the duplicates because graphics take up more space than regular data does.

Another way we can help prevent our Mac from slowing down or freezing is to do some spring cleaning of your browser cache.

  • For internet Explorer 8 or 9  click tools menu at top of page, click Delete Browsing History, then unselect Preserve Favorites Website data, but make sure Temporary Internet Files, Cookies, and History are selected.  Then click delete.
  • For Firefox- click tools, then click Clear All History… Make sure Browsing & downloading History, Cookies, and Cache are all selected then click clear now.
  • For Chrome- type   chrome://settings/clearBrowserData  into the browser bar.  Make sure to select Clear Browsing History, Clear Download History, Delete Cache and other site and plug-in data. Then from Obliterate… select From the Beginning of time from the dropdown menu. Then click Clear Browsing data.
  • Finally for Internet Explorer 7 click on Tools at top and select Delete Browsing History, then delete Cache, then Delete Cookies, and finally delete History.

Do this once a month to keep these browsers working better.

FinderAnother easy preventative to a slow Mac is to run Repair Permissions from your Disk Utility. Simply go into Finder (pictured at left) and look for Applications on left side then on right- scroll down to bottom and click arrow beside Utilities. Then scroll down again and click Disk Utilities.  A window will appear that will allow you to choose which Hard Drive you want the Permissions repaired in.  Click the correct one and at the top of that window, make sure  First Aid is selected and click Repair Permissions.

I am including a link to check out from Apple Support about Repair Disk Permissions below.

Apple Support-Disk Utility’s Repair Disk Permissions