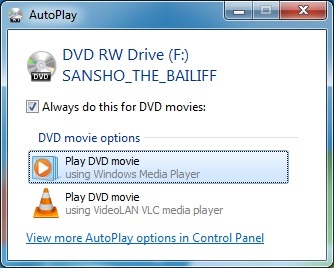
Insert a DVD into the DVD Player. Play the DVD.
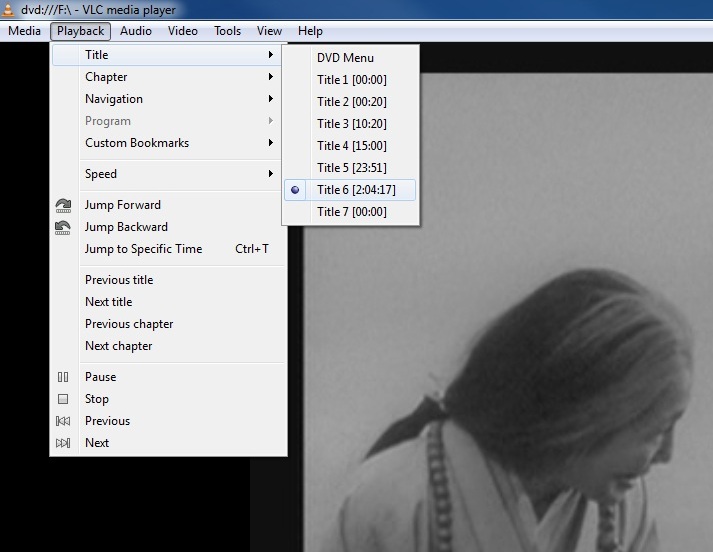
If you are capturing short clips navigate to the section(s) that you want to capture then select “Playback” to check the active title and make a note of it. Handbrake usually does a good job of identifying the correct title for the main feature, but this info is good to have on hand.
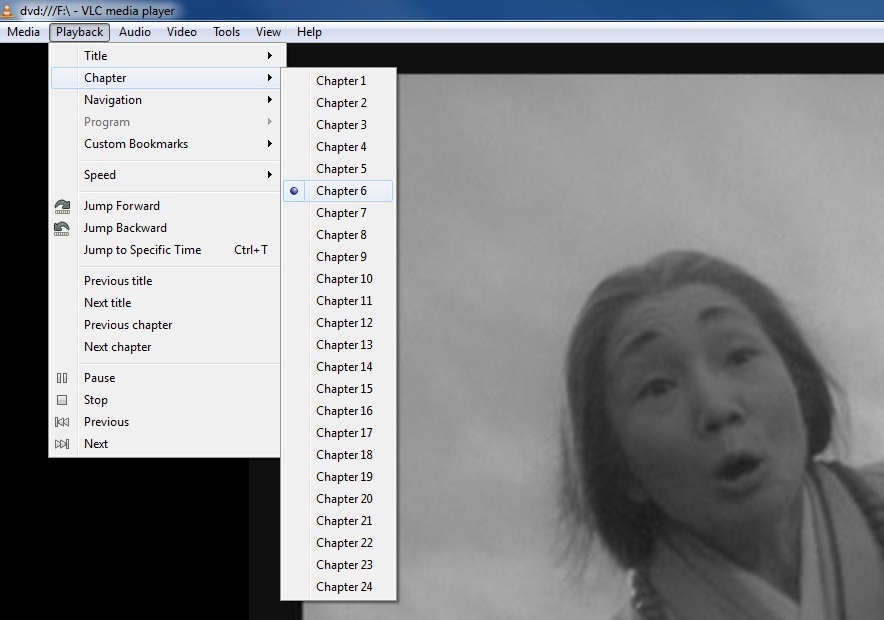
Select “Playback” and make a note of the active chapter for each clip that you would like to capture. Make a note of it. If you are capturing the entire DVD you can skip this step.
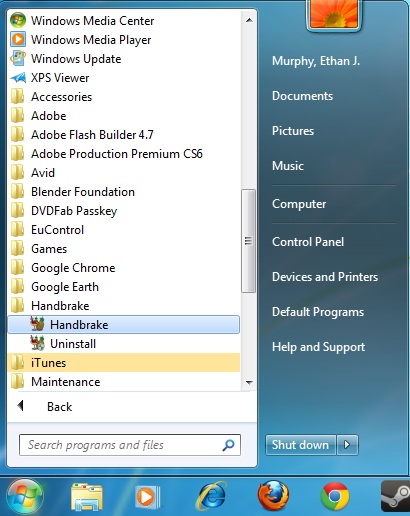
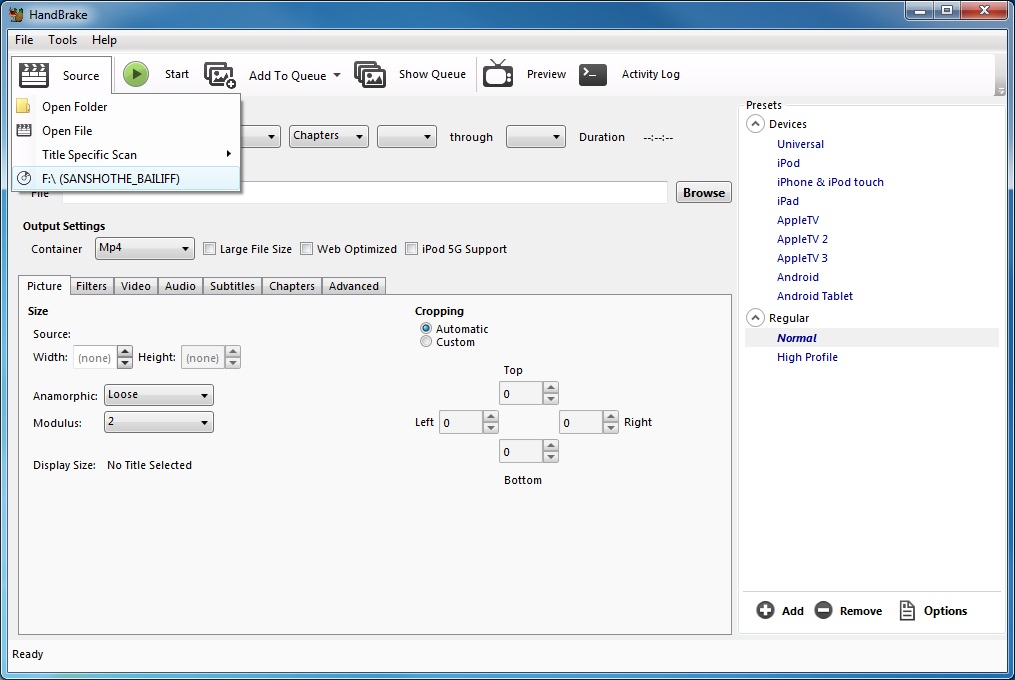
Launch Handbrake.
Select “Source” and select the DVD.
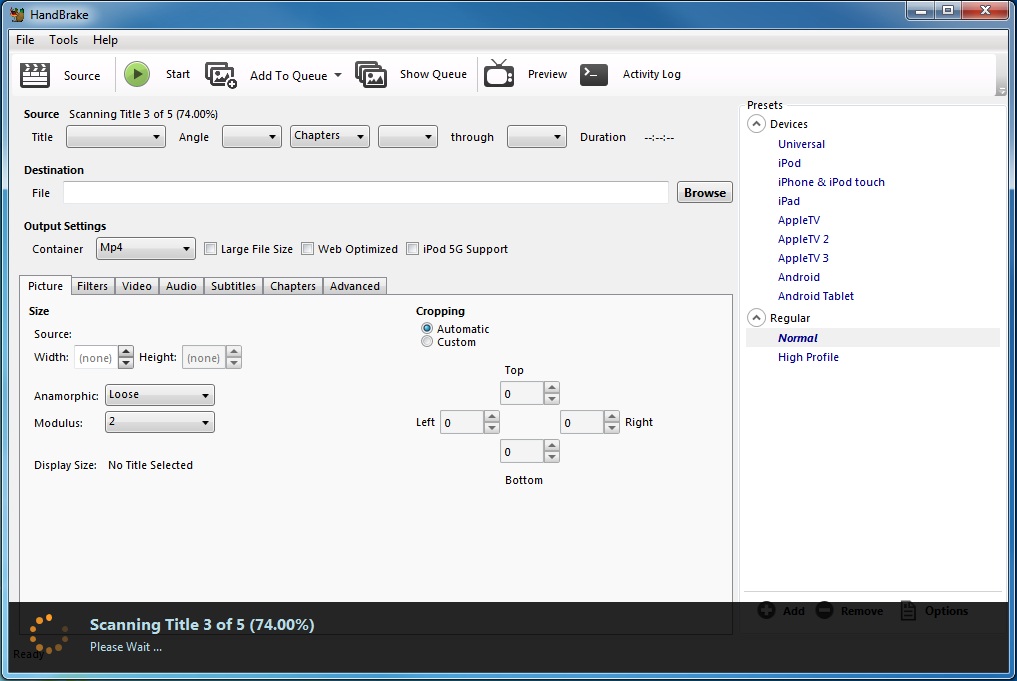
Handbrake will scan the DVD and will usually select the correct title for the feature. If working with a television series or if Handbrake gets it wrong, select your title manually.
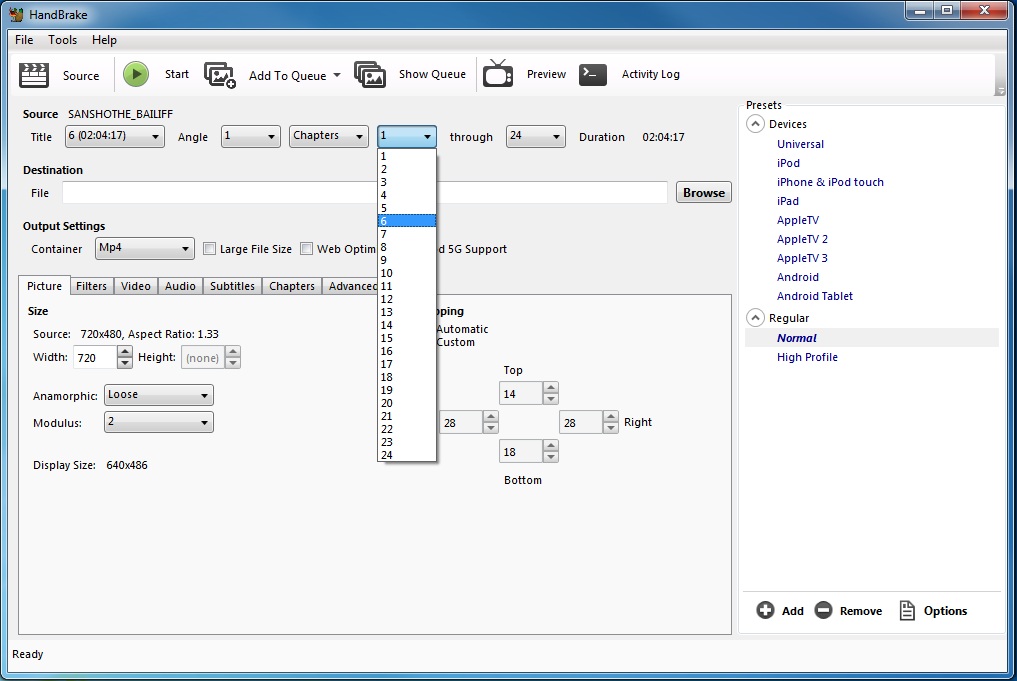
Select the begin chapter that your clip started on and the end chapter that your clip ended on.
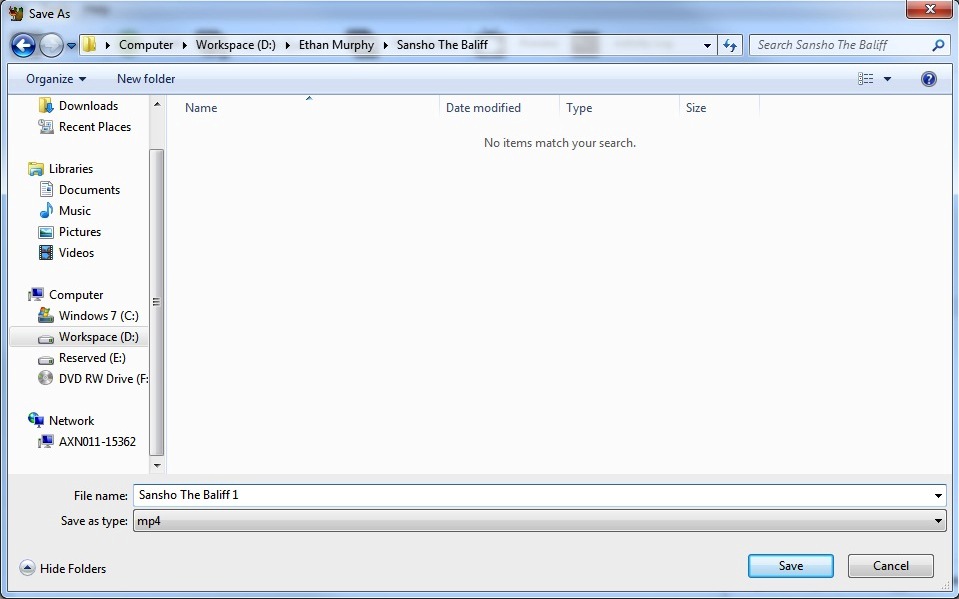
Select a destination to save your file to. I recommend Workspace->YourName->YourProjectName->YourProjectName.mp4
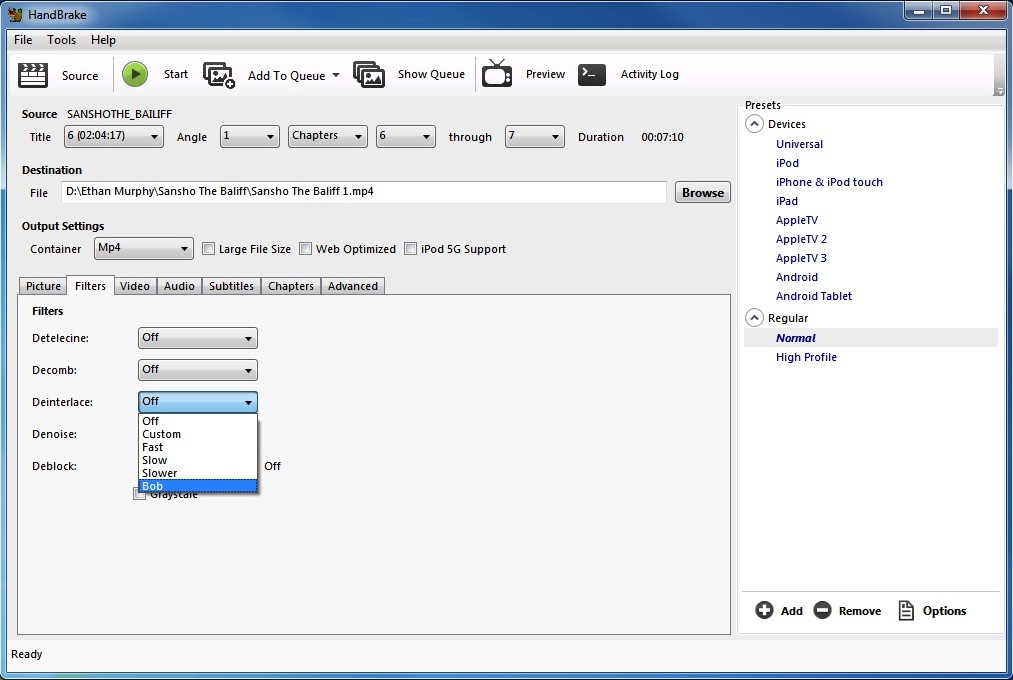
Some DVDs need to be “De-interlaced” you will know if you see horizontal scan lines while watching the video on a computer screen.
If you are working with a foreign film you may want to capture clips with subtitles.
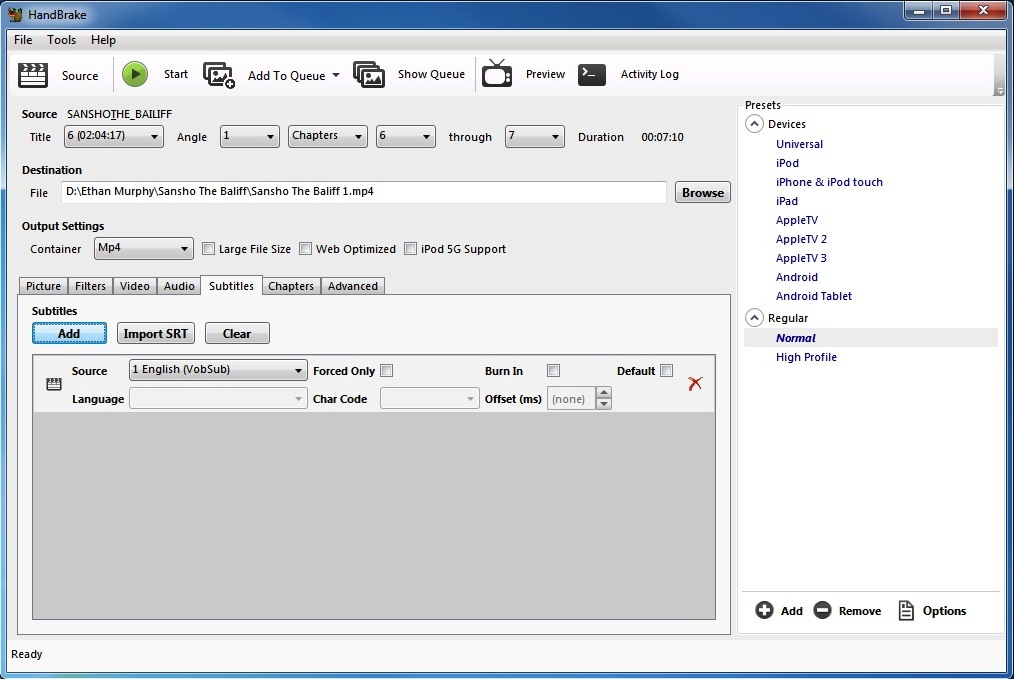
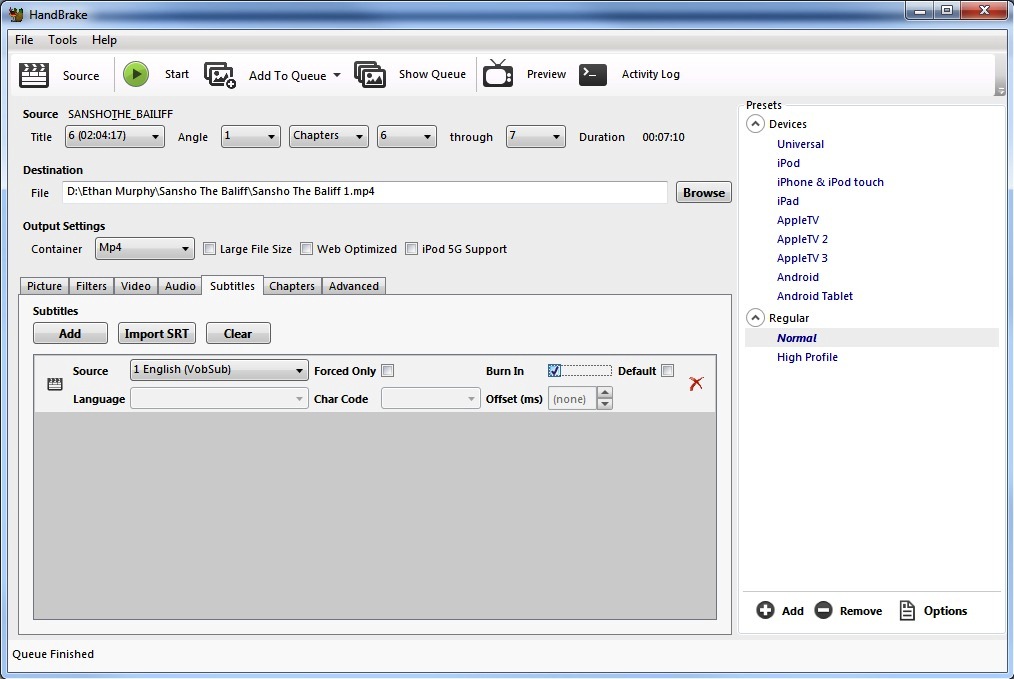
Make sure to click “Burn In” if you want your subtitles to show up in the exported video.
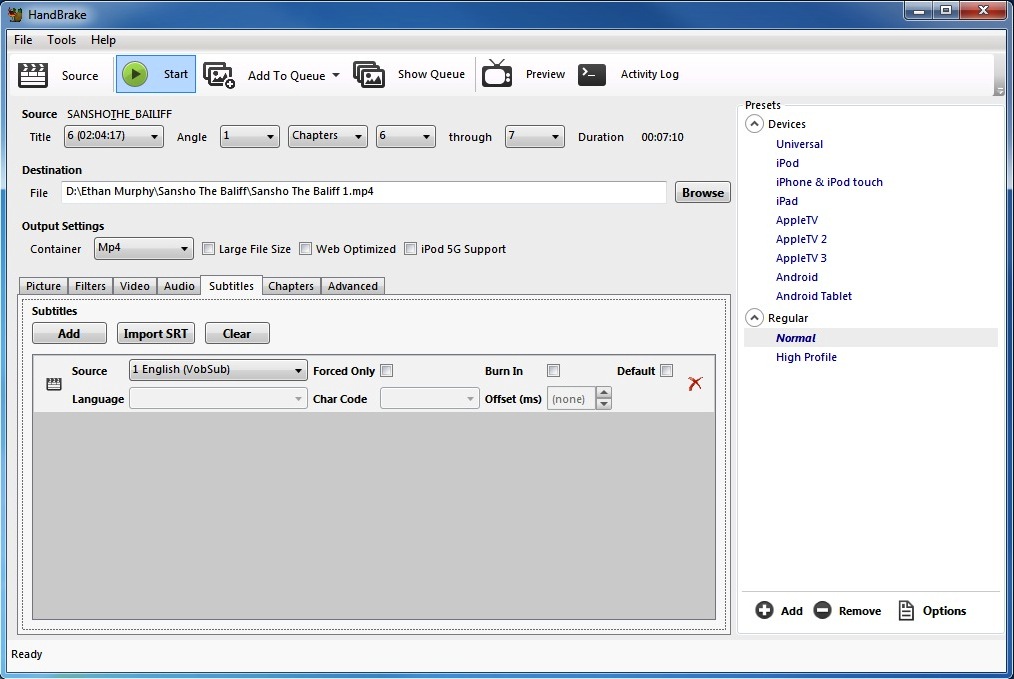
Click Start to begin ripping.
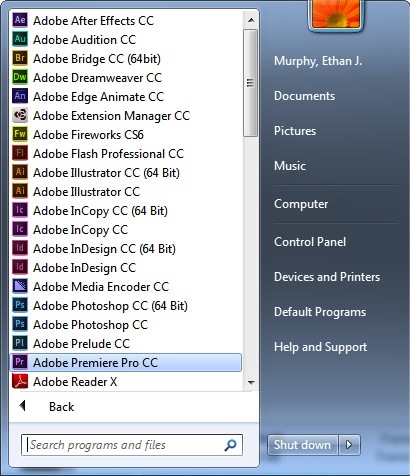
Launch Premiere Pro CC.
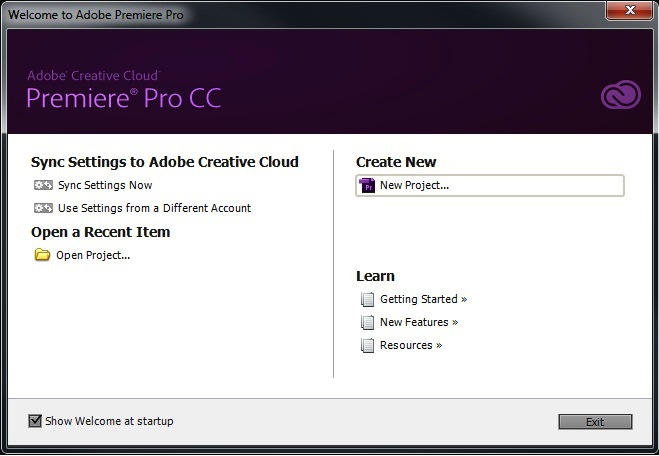
Click New Project.
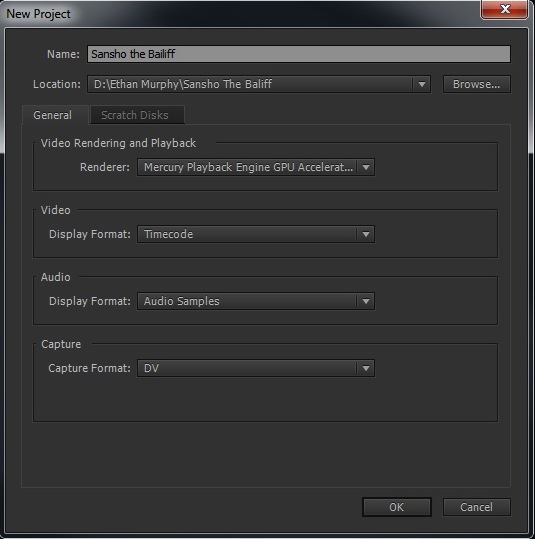
Name it. Choose a location. I recommend Workspace (or external hard drive) -> YourName -> YourProjectName -> YourProjectName.proj
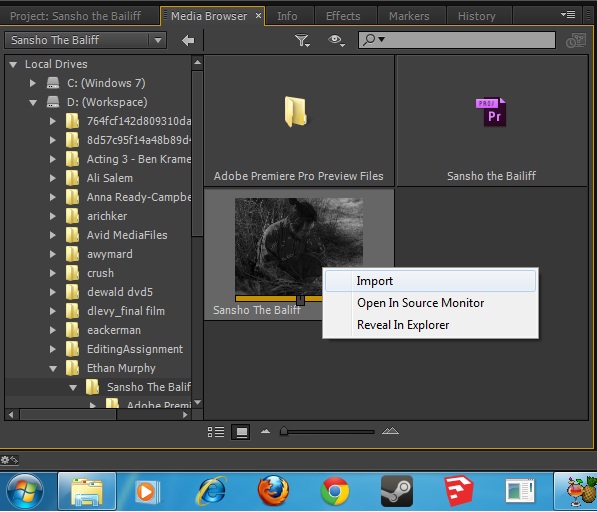
Select the Media Browser Tab and browse to the YourProjectName folder. Right click and choose import.
Click on the “Project” tab.
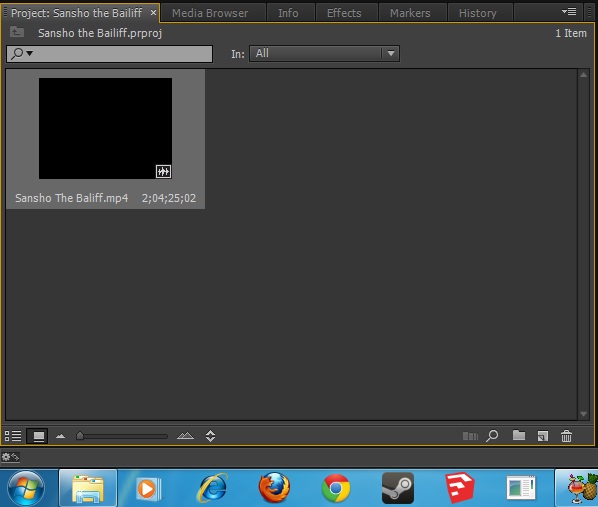
Double click on the clip(s) to load them into the viewer.
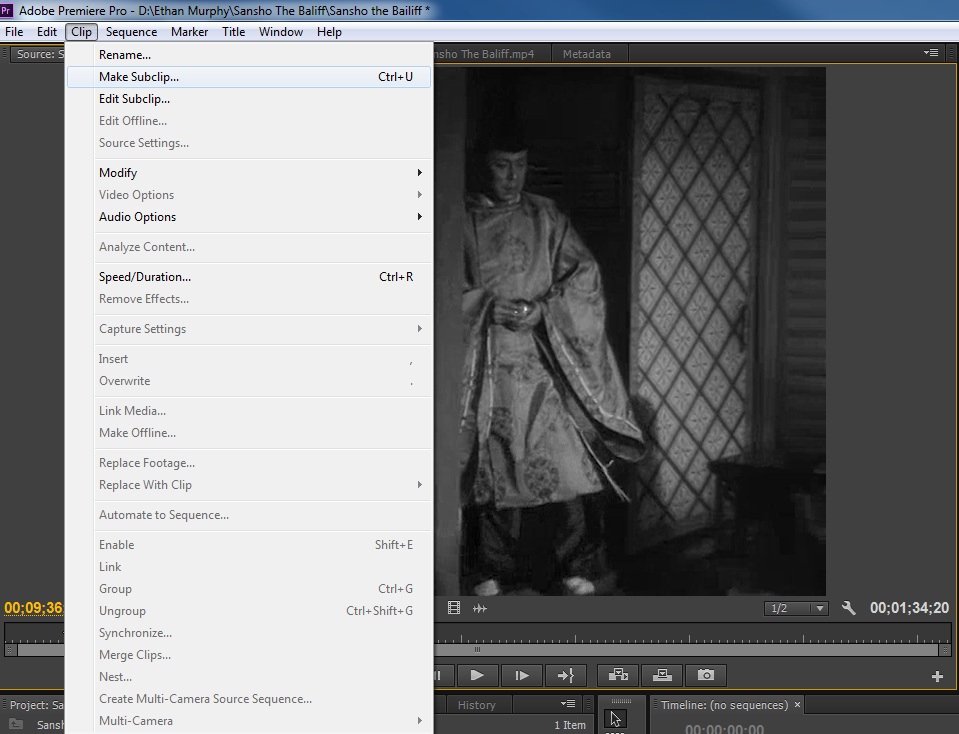
Study your media object. Create subclips by selecting an in point (“i” on the keypad) and an out point (“o” on the keypad). Then choose Clip->Make Subclip.
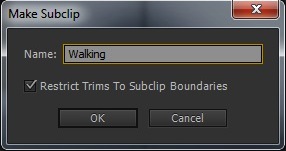
Name your subclip.
Edit your film.
Select Sequence->Render Entire Workspace.
Select Export->Media
H.264
Vimeo SD 29.97
Choose your destination.